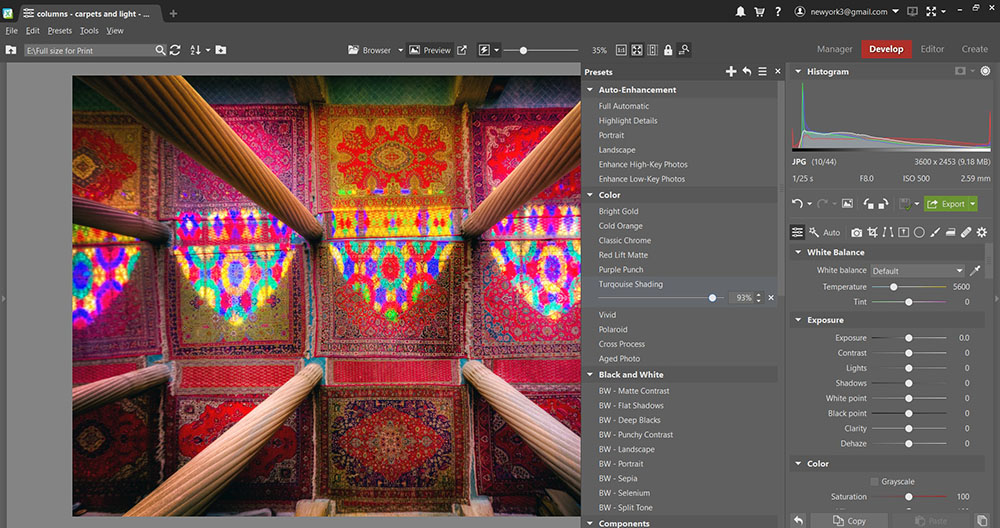
Before I started using this application, I had to make sure I had the latest version of Adobe DNG Converter, otherwise the app won’t do its job well in developing raw images for my Sony Alpha camera.
After updating “DNG Converter”, everything seems to be okay.
At first glance, the design is very similar to Adobe Lightroom, however I’ve found some interesting and new tools which give me more options while editing my photos.
Let’s go into details:
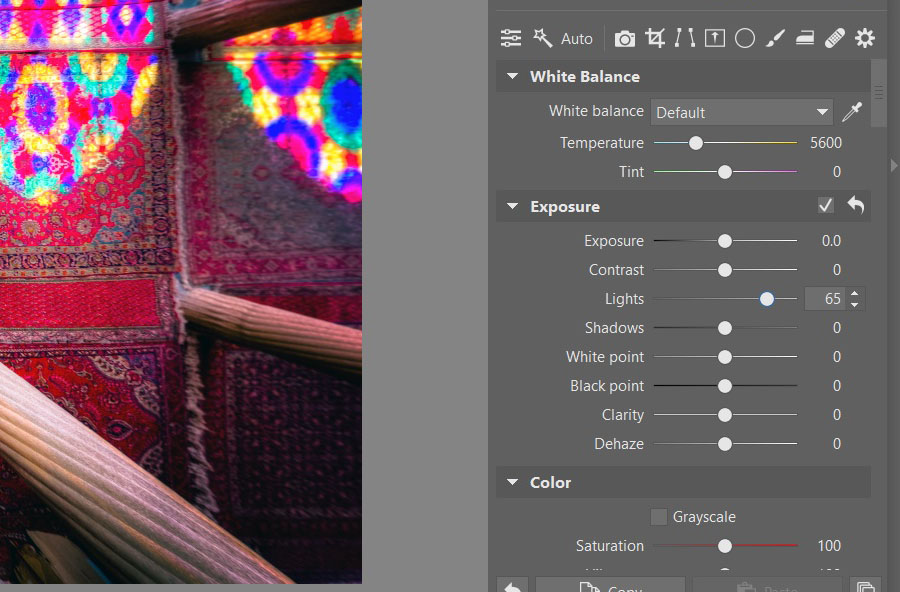
- In the Exposure tab, there is a new feature, named “Lights”. I guess it should be compared to the feature “Highlights”, which we are all familiar with. However, it seems they’re not the same. This option is very interesting; I usually use it for adding light whenever it is needed. You should try it by yourself and see how it affects your editing style.
- In the Color tab, “Polarization” is something handy. You can find some plugins here and there to be used on other apps, but bringing this feature into the main panel is a wise choice that the Zoner team made. For architecture photography and landscape, you can work with Polarization and find better results.
- Moreover, “Split toning” is a new handy feature in the main panel. I used something similar in DaVinci Resolve when I edit my footage and want to have the color tones I desire.
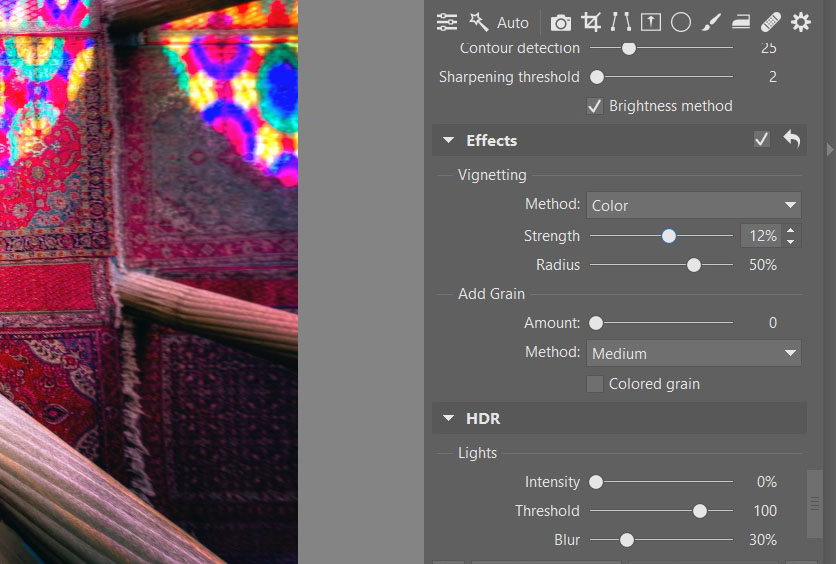
- In the Effects tab, you can add a vignette both by Color and Exposure. Indeed, this is something I love, as I use vignetting most often and it gives depth to my photos; having more options in this feature is always welcome.
- It is always a big challenge for photographers to have a good tone mapping out of their high-dynamic-range raw files. I personally use other apps like Photomatix and make a tone-mapped TIFF file, then import the tone-mapped TIFF file into my editing app, re-edit this TIFF file and find my final result. Now, with this existing HDR feature in Zoner Photo Studio X, there is no need for that complex editing process: I do all at once.
Now, after these 5 cool features, I want to move on to “Presets”.
Many people, especially amateur photographers, always complain that they won’t get a good result after hours of editing their images, but a normal person can have an amazing portrait or landscape result just by applying a preset over his or her photos on a mobile app! Well, this is true.
Presets are cool: they can really map your image colors and tones and give you an amazing result without going very deep into a complex editing process.
What I’ve found interesting with Zoner is its large preset database; you can find almost anything there! From Instagram-like presets to a preset you had seen somewhere in an app and you wished your photos could have a similar tone.
For me, it is the best part of Zoner Photo Studio.
Cons
Unfortunately, Zoner Photo Studio has a lack of profiles for lenses.
The camera profile and lens profile are not set automatically by the software, and it directs us to choose the profile file. Many photographers, including me, do not have the profile files ready for all of our lenses.
Manual correction is nice but not enough, and I hope, as the time goes by, they can make it better.
If you have any question, ask me in the comments. Also follow me on Foundation and see my last NFTs: foundation.app/persia